Technology
10 Best Screen Recorders With Built-In Video Editing Tools in 2026
Published
4 hours agoon
By
Admin
Recording your screen is usually the easy part. The real work often starts afterward, when you notice a long pause, a wrong click, poor audio, or a section you no longer want.
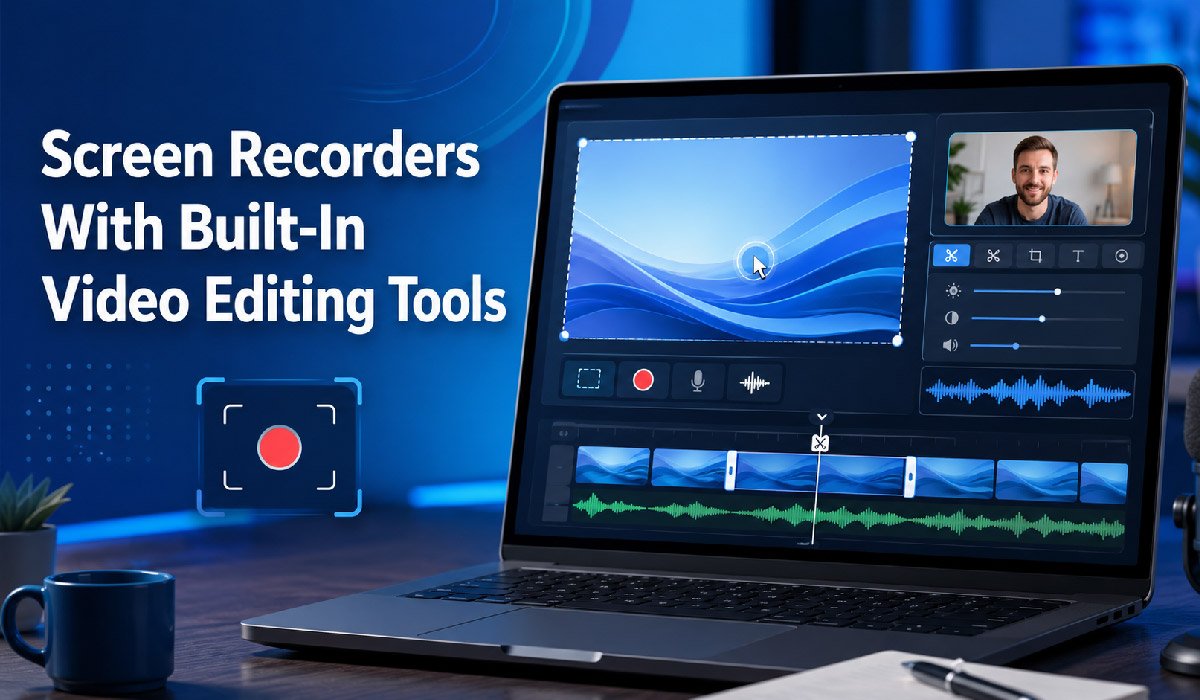
That is where screen recorders with built-in video editing tools can help. Instead of recording in one program and moving your video into a separate editor, you can record, trim, edit, and prepare your video in the same place.
This guide covers 10 screen recording tools available in 2026 that also include video editing features. You will also learn how these tools work, what to look for, their main benefits, and the limits you should consider before choosing one.
What Are Screen Recorders With Built-In Video Editing Tools?
Screen recorders with built-in video editing tools are programs or online services that let you capture your computer screen and edit the recording afterward.
You can think of them as a screen recorder and video editor combined. After recording a tutorial, presentation, lesson, or software demonstration, you can usually trim unwanted sections, add text, work with audio, include captions, and make other basic changes without opening a second program.
These tools can be useful for teachers, students, remote teams, trainers, content creators, marketers, and support staff. They are especially helpful when you want to create clear videos without learning a complicated editing program.
Why Are Screen Recorders With Built-In Video Editing Tools Becoming Popular?
People often want a faster way to create useful videos. Moving a recording between several programs adds extra steps, especially when you only need simple edits.
Many modern screen recorders now include tools for trimming clips, adding captions, adjusting audio, combining recordings, or removing unwanted sections. Some also include AI-assisted features that can help with tasks such as transcription, captioning, or removing filler words.
This all-in-one approach works well for tutorials, internal updates, training videos, product demonstrations, and other projects where speed and simplicity matter.
10 Best Screen Recorders With Built-In Video Editing Tools in 2026
1. Camtasia
Camtasia combines screen recording with a timeline-based video editor. It can record your screen, webcam, microphone, and system audio, giving you separate material to work with during editing.
Its editing tools include trimming, splitting, transitions, callouts, cursor effects, and text-based features. It is a practical choice for people creating detailed tutorials, training videos, lessons, or software demonstrations.
2. Loom
Loom is designed around quick screen recording and sharing. You can record your screen, camera, or both, then make basic edits before sending the video to someone else.
Its editing options include trimming and combining clips, while some plans also provide tools such as filler-word removal. Loom can work well for team updates, feedback, short explanations, and simple demonstrations where you do not need a full video editor.
3. ScreenPal
ScreenPal combines screen and webcam recording with a more traditional video editor. You can trim clips, crop footage, add text or images, adjust speed, and work with audio.
It also includes features such as captions and annotations. This makes it useful for people who want more editing options than a simple recorder but do not need professional filmmaking software.
4. VEED
VEED is mainly a browser-based video platform. You can record your screen, webcam, and audio, then continue editing the recording in the same online workspace.
Its editor includes trimming, subtitles, music, audio tools, and other video editing features. VEED can be useful for tutorials, presentations, social media videos, and short online content, especially if you prefer working in a browser.
5. Descript
Descript handles editing differently from most traditional video editors. It can turn your recording into a transcript and let you edit parts of the video by editing the text.
For example, deleting a sentence from the transcript can also remove the matching part of the recording. Descript also includes tools for captions, trimming, audio cleanup, and filler-word removal. It may suit people who prefer editing spoken content through text rather than working only on a timeline.
6. Microsoft Clipchamp
Microsoft Clipchamp includes screen recording inside its video editing platform. You can record your screen, webcam, or both and then place the recording directly on the editing timeline.
You can trim, split, crop, add text, work with audio, and reposition webcam footage. Its layout is fairly familiar if you have used basic timeline editors before, making it a reasonable starting point for beginners.
7. Wondershare DemoCreator
DemoCreator is built for screen recording and video editing. It can capture your screen, webcam, microphone, and system audio, which can be useful when creating tutorials or presentation-style videos.
The editor includes trimming, cropping, transitions, annotations, animations, and cursor effects. It also includes AI-assisted tools for selected editing tasks. The exact features available can depend on the version or plan you use.
8. Canva
Canva includes screen recording as part of its wider design and video tools. You can record your screen and then use the footage inside a Canva video project.
Once the recording is in Canva, you can combine it with text, graphics, layouts, music, and other design elements. Canva can be useful if you already create presentations, social content, or visual explainers there and want to keep your work in one platform.
9. Kapwing
Kapwing provides screen recording inside its browser-based video editor. Depending on your browser and recording setup, you can capture a screen, window, or browser tab and include camera footage when needed.
After recording, you can trim the video, add text, include music, create transitions, and use other editing tools. It is well suited to short tutorials, online content, and videos made mainly for web or social platforms.
10. Vimeo
Vimeo offers screen recording alongside its video hosting and editing tools. You can record your screen, webcam, or both and then make edits before sharing the finished video.
Editing features can include trimming, splitting, deleting sections, and adding text. Some Vimeo plans also include additional AI-assisted editing tools. It may be most useful for people or teams that already use Vimeo for hosting and sharing video.
How Do Screen Recorders With Built-In Video Editing Tools Work?
Most of these tools follow a similar process.
First, you choose what you want to record. That might be your full screen, one application window, or a browser tab. You can also decide whether to include your microphone, computer audio, or webcam.
Once you stop recording, the video appears inside an editor. You can then cut mistakes, remove long pauses, add captions, adjust sound, insert text, or highlight important parts of the screen.
Imagine you are recording a tutorial and click the wrong menu halfway through. Instead of starting again, you can remove that section and continue with the rest of the recording.
How to Use a Screen Recorder With Built-In Editing Tools
- Choose what you want to record.
Select your full screen, a specific window, or a browser tab. Close anything private that you do not want viewers to see. - Check your microphone and camera.
Make sure the correct microphone is selected. Turn on your webcam only if seeing you will help the viewer understand the video. - Start recording.
Speak clearly and move through your demonstration at a comfortable pace. You do not need to restart after every small mistake if you can remove it later. - Trim unwanted sections.
Remove silence, mistakes, repeated sentences, and anything that does not help the viewer. - Add useful editing elements.
Use captions, text, arrows, zooms, or highlights when they make the video easier to follow. Avoid adding effects simply because they are available. - Watch the finished video.
Check the sound, spelling, timing, and anything visible on your screen before exporting or sharing it.
Main Benefits of Screen Recorders With Built-In Video Editing Tools
You Can Finish Videos Faster
Using one tool for recording and editing removes the need to keep moving files between different programs.
For a short tutorial or team update, that can make the whole process much simpler. You can record, remove mistakes, add a title, and share the result from the same workspace.
You Can Fix Small Mistakes
A screen recording does not have to be perfect on the first attempt.
If you pause for too long, repeat a sentence, or open the wrong window, you can often cut that part out. This can save you from recording an entire video again because of one small error.
You Can Make Instructions Clearer
Editing tools can help viewers understand what is happening on the screen.
For example, you might add a caption to explain a step, zoom in on a small menu, or place an arrow beside the button the viewer needs to click. These small changes can make tutorials easier to follow.
You Can Keep Recording and Sharing in One Workflow
Some screen recording platforms also include hosting or sharing tools.
This can be useful when you are making a quick video for a coworker, student, customer, or client. Instead of exporting a large file and uploading it somewhere else, you may be able to share it directly from the platform.
Possible Limitations and Things to Consider
An all-in-one screen recorder is convenient, but it will not be the best choice for every project.
Free plans may limit recording time, storage, export quality, or certain editing features. Some tools may also place watermarks on videos or reserve advanced features for paid plans. Because these conditions can change, check the current pricing and feature information before signing up.
Browser-based tools may depend more heavily on your internet connection, browser permissions, and computer performance. Desktop programs can offer more control, but they may use more storage space and system resources.
You should also think about privacy. Close messages, passwords, financial information, customer records, and confidential documents before you begin recording.
If other people appear or speak in the recording, make sure you have any permission required by your workplace rules and local laws.
Before choosing a tool, ask yourself:
- How long are your recordings?
- Do you need webcam and system audio recording?
- Are basic trimming tools enough?
- Do you need captions or transcript editing?
- Will you work mainly in a browser or on a desktop?
- Do you need to share videos directly with other people?
- What features are included in the free or paid plan?
Screen Recorders With Built-In Editors vs. Separate Recording and Editing Software
Screen recorders with built-in editing tools focus on convenience. Separate recording and editing programs usually give you more control.
An all-in-one tool is often a better fit for tutorials, lessons, quick training videos, feedback, presentations, and workplace updates. You can record and make the most important edits without setting up a larger production workflow.
Separate software may be better for more complex projects. If you need detailed color correction, advanced sound mixing, special effects, complex animation, or footage from several cameras, a dedicated video editor may give you more options.
The right choice depends on the type of video you make. If you only need to remove mistakes, add captions, and explain what is happening on screen, a built-in editor may be all you need.
Final Thoughts
The best screen recorders with built-in video editing tools in 2026 give you a simpler way to create finished videos without using several different programs.
Camtasia and DemoCreator offer more traditional editing controls. Loom focuses on quick recording and sharing, while Descript makes transcript-based editing a central part of the workflow. Browser-based tools such as VEED and Kapwing can also be convenient when you want to work online.
Before choosing a tool, think about what you actually plan to record. Compare the recording limits, editing features, operating system support, sharing options, and current plan restrictions.
Then test one or two options with a short recording. A simple five-minute tutorial will usually tell you more about a tool’s usability than a long feature list.

You may like
Technology
Top 5 AI Tools for Creating Stunning Thumbnails
Published
1 day agoon
July 28, 2026By
AdminA strong video can still struggle to attract attention if its thumbnail looks cluttered, dull, or unclear. Before people hear your message or watch your content, they usually see a small preview image. That image needs to explain the topic quickly and give viewers a reason to look closer.
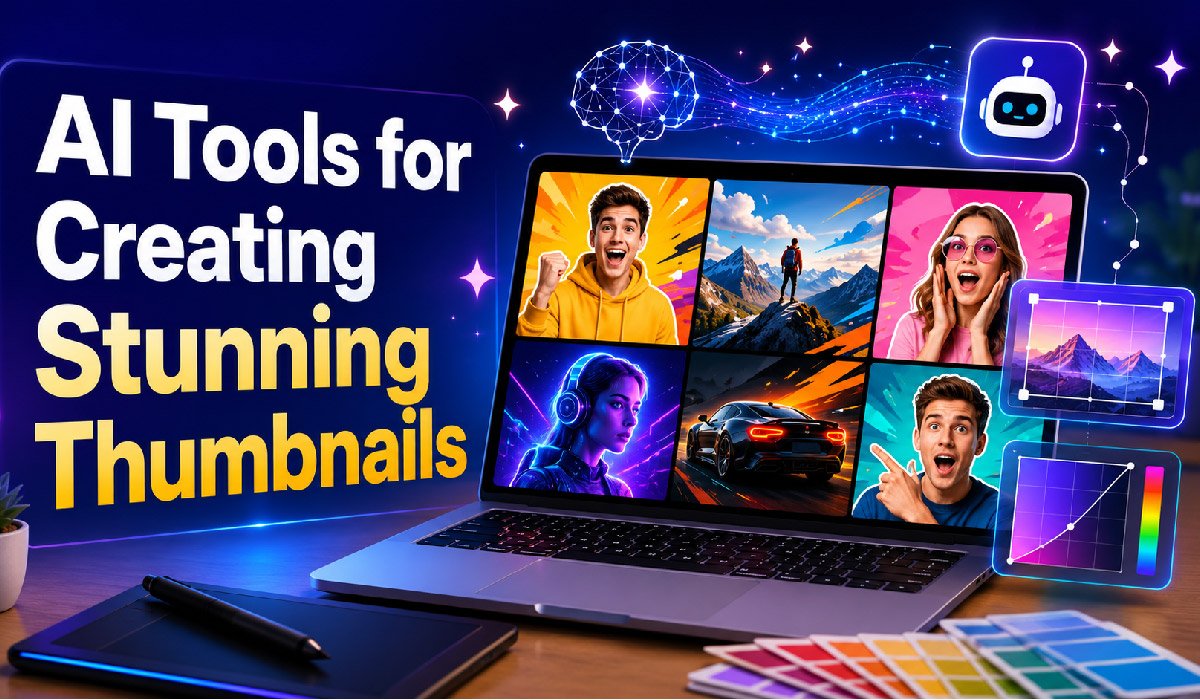
Creating thumbnails by hand can take time, especially when you are not familiar with design software. AI thumbnail tools can make the process easier by helping you create images, remove backgrounds, arrange elements, and test different ideas.
In this guide, you will learn what these tools do, how they work, and which options are worth exploring. You will also learn how to use them without losing control of your design.
What Are AI Thumbnail Tools?
AI thumbnail tools are design programs that use artificial intelligence to help you create preview images for videos, blog posts, podcasts, online courses, and social media content.
Some tools can create an image from a written description. Others help you edit a photo, remove its background, choose a layout, or add text. Many platforms combine these features with ready-made templates.
You can think of an AI thumbnail maker as a design assistant. You explain your idea, and the tool gives you a starting point. You still need to decide whether the image is clear, accurate, and suitable for your audience.
AI thumbnail tools may be useful for:
- YouTube creators
- Bloggers and podcasters
- Teachers and course creators
- Small business owners
- Social media managers
- Beginners with limited design experience
People are interested in these tools because they can reduce routine design work. Instead of starting with an empty page, you can begin with a generated image, a suggested layout, or an editable template.
Why Are AI Thumbnail Tools Becoming Popular?
Creators often need several visual assets for one piece of content. A single video may require a YouTube thumbnail, a social media cover, a blog image, and a promotional graphic.
Producing each image manually can be slow. AI tools help by creating a first draft, resizing designs, removing backgrounds, and suggesting visual ideas.
Many design platforms now include generative AI. This means the software can create new content, such as an image, from a written instruction called a prompt.
These tools do not replace good design judgment. They simply handle some of the repetitive work. You still need to check the text, layout, colors, and overall message.
Top 5 AI Tools for Creating Stunning Thumbnails
Each tool has a different strength. Some focus on easy templates, while others offer stronger photo editing or connect directly with video production.
1. Canva
Canva is a popular option for beginners because it combines templates, stock elements, photo editing, and AI features in one simple workspace.
You can start with a YouTube thumbnail template, upload your own photo, or create an image from a written prompt. You can then adjust the text, colors, layout, and background.
Canva also offers tools that can remove unwanted objects, separate a person from a background, and edit parts of an image. Access to some features may depend on your plan.
Why it may suit you: Canva is useful when you want a quick starting point but still want control over the final design. It also makes it easier to keep your fonts, colors, and layouts consistent across several thumbnails.
2. Adobe Express
Adobe Express combines AI image generation with templates and standard design tools. You can describe the type of thumbnail you want, review the generated options, and edit your chosen design.
The editor allows you to add your own images, logo, colors, text, and visual elements. You can also skip the AI generator and begin with a template.
Why it may suit you: Adobe Express is a practical choice if you want AI assistance without giving up familiar editing controls. It may be especially convenient if you already use other Adobe products.
3. Picsart
Picsart offers a mix of photo editing, graphic design, templates, and AI image tools. You can create a thumbnail from scratch, edit a template, or generate visual ideas from a prompt.
Its photo tools can be helpful when your thumbnail includes a person, product, or object. You can remove a background, add effects, sharpen the image, and place the subject into a new layout.
Why it may suit you: Picsart works well for creators who want to experiment with photos, effects, and different visual styles in one place.
4. Fotor
Fotor includes tools for creating thumbnails from text prompts, uploaded images, and editable templates. After generating a design, you can change the background, fonts, colors, layout, and other elements.
The platform also includes tools for improving image quality and removing or replacing backgrounds. Some features and usage limits may vary by plan.
Why it may suit you: Fotor can be useful when you want to create and edit the main image without moving between several different programs.
5. VEED
VEED is mainly known as a video creation platform, but it also provides tools for making thumbnails. You can generate an image from a written prompt, use a template, and request changes to the text, colors, or layout.
Because the thumbnail tools are connected to a video editor, VEED may help simplify your workflow. You can work on the video and its cover image within the same platform.
Why it may suit you: VEED is worth considering if your main focus is video and you prefer to keep editing and thumbnail creation together.
How AI Thumbnail Tools Work
Most AI thumbnail makers follow a simple process.
First, you give the tool an instruction. You might write, “A home cook looking surprised beside a burnt cake in a bright kitchen.” You may also upload a photo from your video.
The tool studies your instruction and produces one or more images or layouts. Some platforms create a complete thumbnail, while others generate only the main image.
You then edit the result. You may change the headline, move the subject, replace the background, adjust the crop, or remove unnecessary details.
It is similar to asking a designer for a rough draft. Your first request gives the direction, but you usually need to make a few changes before the design is ready.
How to Use an AI Thumbnail Maker
- Choose the right canvas size.
Select the correct format for the platform you plan to use. A YouTube thumbnail may need a different layout from a social media cover. - Write a clear prompt.
Describe the subject, setting, mood, and style. A specific prompt gives the tool more useful direction than a vague request such as “make a good thumbnail.” - Create several versions.
Do not rely on the first result. Compare a few options and look for a clear subject, simple layout, and enough room for text. - Add a short headline.
Use a few clear words that are easy to read on a phone. The text should support the title rather than repeat a long sentence. - Make the main idea obvious.
Decide what the viewer should notice first. This may be a face, product, result, or short phrase. - Remove unnecessary details.
Too many objects, effects, or words can make a thumbnail difficult to understand. Keep only the elements that support the main message. - Check the image carefully.
AI-generated pictures can contain unusual hands, objects, faces, or text. Correct any detail that looks wrong or misrepresents your content. - Preview it at a small size.
Zoom out and look at the thumbnail as it may appear beside other videos. Make sure the subject and text remain clear. - Export and compare results.
Save the image in the format recommended by your platform. Over time, compare different thumbnail styles using your actual performance data.
Main Benefits of AI Thumbnail Tools
They Help You Start Faster
Beginning with an empty canvas can be difficult. AI can create a rough idea that gives you something to improve.
For example, a food creator could generate several kitchen backgrounds and choose the one that leaves enough space for a short headline.
They Make Basic Editing Easier
Many tools let you make changes using simple commands. You may be able to ask the software to remove a background, replace an object, or move the subject.
This can be easier for a beginner than learning advanced editing methods at the start. You can still build stronger design skills as you gain experience.
They Make It Easier to Test Ideas
AI tools allow you to compare different scenes, layouts, and styles without creating each one from scratch.
You could test a close-up face, a product-focused image, and a before-and-after layout. Not every version will work, but seeing several options can help you make a better choice.
They Can Support a Consistent Style
Many platforms let you reuse fonts, brand colors, templates, and layouts. This can make your content easier to recognize.
Consistency does not mean every thumbnail should look the same. It means your designs share a familiar style while still showing what makes each video different.
Possible Limitations and Things to Consider
AI-generated images are not always accurate. You may notice distorted hands, strange expressions, unreadable text, or objects that do not make sense.
The results can also look generic. This often happens when the prompt is too broad or when you use a template without making meaningful changes. Adding your own photos, colors, and design choices can make the thumbnail feel more personal.
Free plans may limit the number of images you can generate or restrict certain templates, exports, and editing features. Check the current plan details before choosing a tool for regular work.
You should also think about privacy and usage rights. Avoid uploading confidential images or material that you do not have permission to use. Review the platform’s terms before using generated content for business or client projects.
Most importantly, your thumbnail should match the content. A dramatic image may attract attention, but it should not promise something your video does not provide. Misleading viewers can weaken trust.
Before choosing a tool, ask yourself:
- Does it support the format I need?
- Can I edit the AI-generated result?
- Are the free limits suitable for my workload?
- Can I use the finished image for my intended purpose?
- Does the tool fit my current level of design experience?
AI Thumbnail Tools Compared With Other Options
AI thumbnail tools are not the only way to create a strong design.
Advanced photo-editing software gives you more control over small details. It may be better for complex designs, but it often takes longer to learn.
Hiring a professional designer can give you a more custom result. A designer can study your audience and create a clear visual style for your channel. However, this option may cost more and require extra time for communication and revisions.
Standard template tools are usually quick and predictable. The main drawback is that a popular template may look familiar unless you change the images, colors, fonts, and layout.
AI thumbnail tools sit between these options. They are easier to use than advanced software and less expensive than hiring a designer for every image. However, they still require your input, checking, and editing.
Final Thoughts
The top AI tools for creating stunning thumbnails include Canva, Adobe Express, Picsart, Fotor, and VEED. Each offers a different balance of AI generation, templates, photo editing, and manual design controls.
Canva and Adobe Express are useful for general design work. Picsart and Fotor offer flexible image-editing features, while VEED may suit creators who want their thumbnail and video tools in one place.
Start with one platform and create two or three versions of the same thumbnail. Preview each version at a small size, remove anything that does not support the main idea, and choose the design that explains your content most clearly.
Online Business Ideas for Students With Little Investment
7 Cloud Storage Mistakes Small Businesses Should Avoid
10 Best Screen Recorders With Built-In Video Editing Tools in 2026
10 Simple Health Tips for a Better Everyday Life
Best Places to Visit for a Perfect Weekend Getaway
Top 5 AI Tools for Creating Stunning Thumbnails
10 Simple Health Tips for a Better Everyday Life
Top 5 AI Tools for Creating Stunning Thumbnails
10 Best Screen Recorders With Built-In Video Editing Tools in 2026
Best Places to Visit for a Perfect Weekend Getaway
7 Cloud Storage Mistakes Small Businesses Should Avoid
Online Business Ideas for Students With Little Investment
Trending
-
Health1 day ago10 Simple Health Tips for a Better Everyday Life
-
Technology1 day agoTop 5 AI Tools for Creating Stunning Thumbnails
-
Travel1 day agoBest Places to Visit for a Perfect Weekend Getaway
-
Business4 hours ago7 Cloud Storage Mistakes Small Businesses Should Avoid
-
Business4 hours agoOnline Business Ideas for Students With Little Investment